
Quick and easy Halloween nail design tutorial with our favorite Sanrio character!
Hey everyone!
It’s been over a decade since I last painted my nails, but a few weeks ago, I stumbled on this super cute Halloween-inspired Hello Kitty nail decal kit on The Creme Shop and thought it would be the perfect opportunity to start painting my nails again.
The kit comes with 50 nail decal stickers featuring classic Halloween staples, like pumpkins (with HK’s cute bow!), candy corn, and ghosts, and a variety of stickers featuring Hello Kitty dressed as a black cat. It also includes a clear topcoat “infused with calcium and protein” to seal and set your nails.
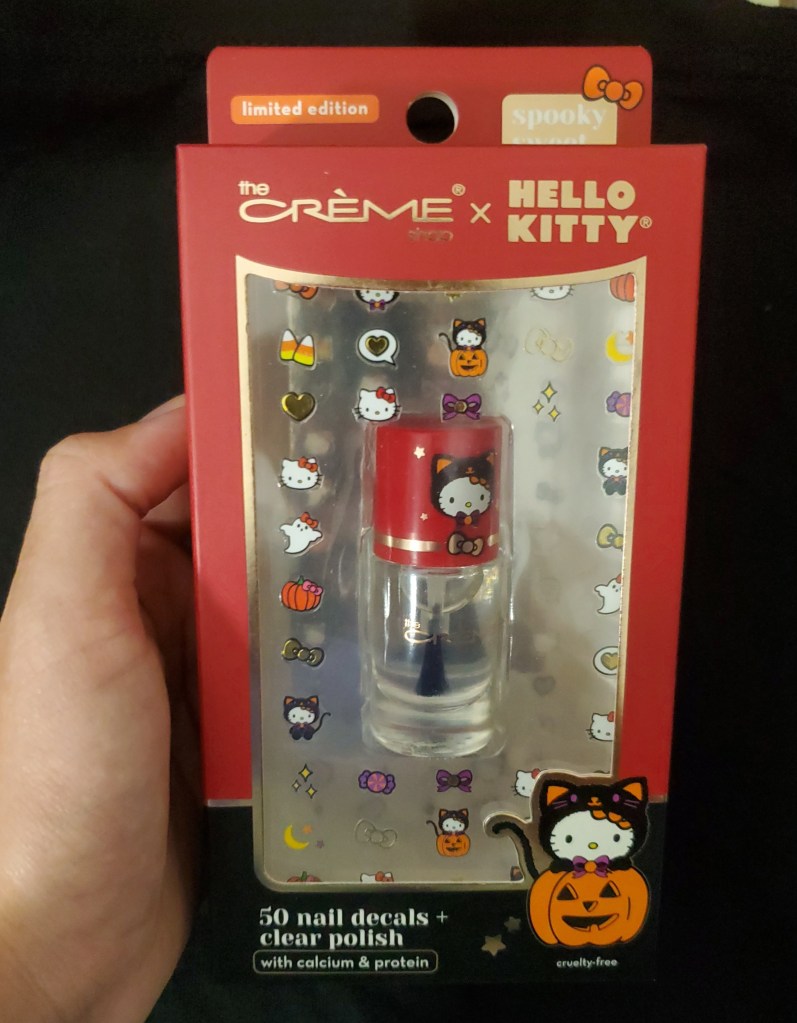
For $10, I definitely felt like I wasn’t going to break the bank (or my nails), and I’ve been feeling super festive lately, so why not?
I used Sally Hansen’s Insta-Dri polish in Beach You To It as my base color, waited for it to dry completely, and then applied the stickers over it. I did not use any tweezers or special tools to pick the stickers up, but I really should have because some of the smaller stickers could easily tear or fold into themselves if you’ve got clumsy fingers like me!

Then, I applied the kit’s topcoat and voila! An adorable manicure giving the perfect spooky cute Halloween vibe.

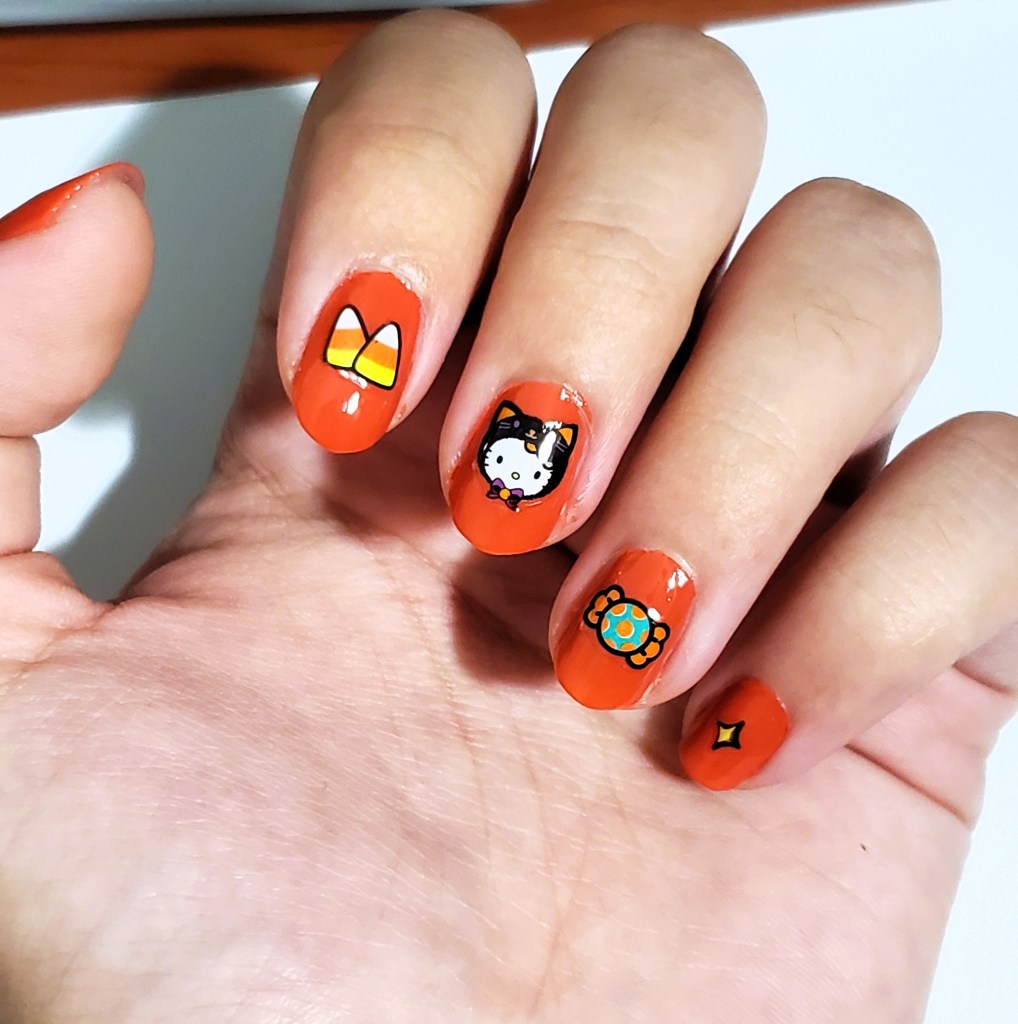
The real star of the show was Sally Hansen’s base color polish – it definitely dried completely in less than 2 minutes with an opaque and shiny finish and proved to be chip resistant for an entire week. And I love that the 3-in-1 formula means I don’t need to use a base coat polish… not only do I not own one – but I’m also too inpatient and love quick results haha.
Removal was another story… the polish came off quickly with regular acetone, but those stickers REFUSED to budge. They were really stuck on there!
Overall rating: 4/5 – easy, yet cute & spooky $15 manicure!
Review summary: Beginner-friendly nail design kit suitable for older kids (ages 10+) that captures the fun spirit of Halloween. Stickers are a bit fragile during application, but once they’re on your nails, they’re ON. Be sure to use tweezers (and strong acetone for removal!) for best results.
Pro tip (from a non-pro lol): This kit was truly limited edition because it completely sold out on The Creme Shop, and the only reputable website I could find it on was Walmart (for $14, of course). Then, I started thinking about how if you really wanted to preserve the stickers, you could stick them on reusable press-on nails to keep your favorite designs for longer!
Let me know what you think and if you would try the tip above!
Thanks for reading, and Happy Halloween!
-L

Leave a comment